
Guide to Apartment Turnover Cleaning That Works
This guide to apartment turnover cleaning helps landlords prepare a safe, clean, pest-aware rental quickly, reduce callbacks, and welcome new tenants.
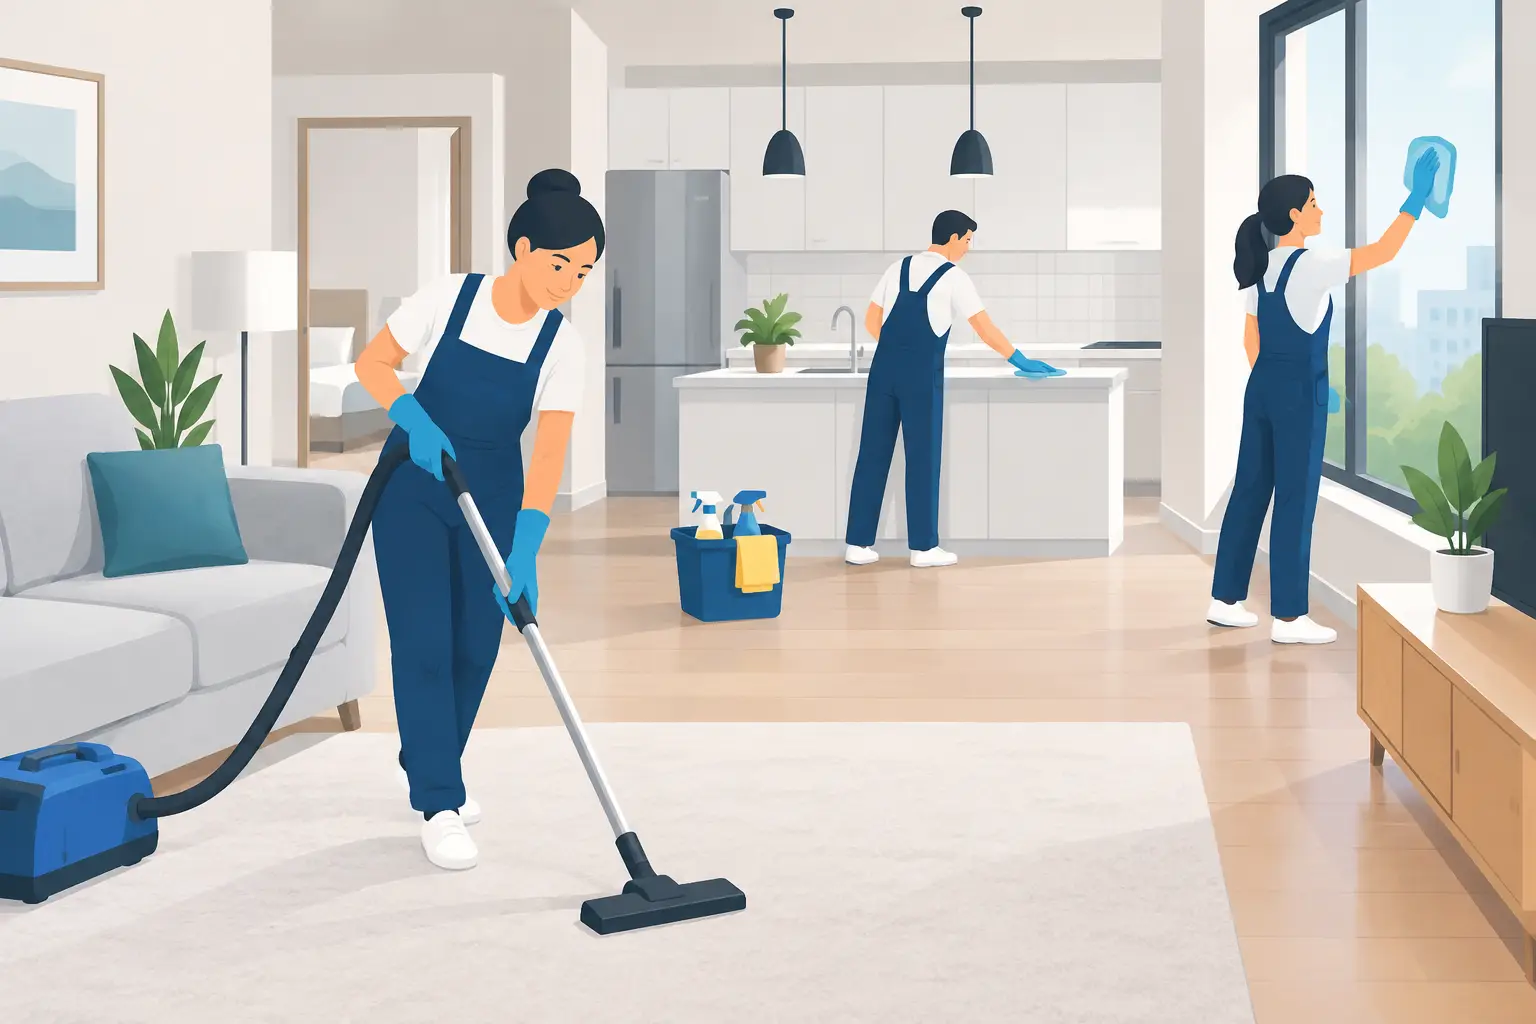
A vacant apartment can look ready from the doorway and still create problems on move-in day. Grease inside cabinets, odors in carpet padding, a slow drain, or early signs of pests can quickly become a tenant complaint. This guide to apartment turnover cleaning helps landlords and property managers prepare a cleaner, safer rental while catching the issues that are easier and less expensive to resolve between tenants.
The goal is not to make every unit look brand new. It is to return it to a clean, sanitary, functional condition that gives the next resident confidence from the first walkthrough. The best turnovers follow a consistent process, document what was found, and separate normal cleaning from repairs, damage, and pest-related concerns.
Start With a Full Unit Assessment
Do the first inspection before cleaners, painters, or maintenance crews begin. A quick walkthrough often misses the places where tenant turnover problems start: under sinks, behind appliances, inside closets, along baseboards, and around windows.
Walk the unit room by room with a phone or inspection form. Take dated photos of existing damage, note unfinished repairs, and look for signs that call for more than routine cleaning. Water staining, loose flooring, damaged caulking, droppings, insect activity, musty odors, and heavy buildup should be identified before the work schedule is set.
This step also protects everyone involved. It creates a clear record of the unit condition, helps determine whether charges may apply under the lease and local rules, and prevents a cleaning crew from being blamed for damage that was already present.
Identify the work by priority
Classify findings into three groups: cleaning, repair, and safety or pest response. A dirty oven is a cleaning task. A broken cabinet hinge is a repair. Evidence of rodents, cockroaches, bed bugs, mold-like growth, exposed wiring, or an active leak needs prompt professional attention before a new tenant moves in.
Some issues overlap. For example, food residue and overflowing garbage may require deep cleaning, but they can also support cockroach or rodent activity. Treating the visible pest without removing the sanitation issue can lead to another problem soon after move-in.
Empty, Ventilate, and Reset the Space
Remove all abandoned belongings and garbage before detailed cleaning begins. Check storage areas, utility closets, balconies, patios, medicine cabinets, refrigerator drawers, and the space behind the washer and dryer. Left-behind furniture and clutter can conceal pests, trap odor, and make a unit appear neglected.
Open windows when weather and building conditions allow, and run exhaust fans to improve air movement. Ventilation helps cleaners work more comfortably and makes it easier to identify lingering odors. It does not replace odor treatment, however. If smoke, pet urine, mildew, or garbage odor remains after basic cleaning, find and address the source rather than covering it with fragrance.
Resetting also means shutting off or securing utilities only when it will not interfere with cleaning and testing. Water, lights, heat or cooling, and appliance power should be available long enough to test the unit properly.
Clean From High Surfaces to Floors
A reliable apartment turnover cleaning plan moves from dry work to wet work and from higher surfaces to lower ones. Dust and debris fall downward, so cleaning floors too early creates repeat work.
Begin with ceilings, vents, light fixtures, wall marks, blinds, window tracks, shelves, and the tops of cabinets. Then clean counters, cabinets, appliances, fixtures, doors, baseboards, and floors. Use products suited to the surface. Harsh chemicals can damage natural stone, flooring finishes, painted walls, and appliance coatings, while using too little contact time can leave grease and disinfecting tasks incomplete.
Focus on the rooms tenants notice first
Kitchens and bathrooms carry the highest expectations because they affect hygiene, odor, and everyday use. In the kitchen, clean the inside and outside of cabinets and drawers, including handles and hinges. Pull out movable appliances when possible to remove crumbs, grease, and debris from the wall and floor behind them. Degrease the range hood, stovetop, oven, and backsplash, then check that the refrigerator is empty, clean, odor-free, and cooling correctly.
In bathrooms, remove soap scum and mineral buildup from sinks, faucets, showers, tubs, toilets, and tile. Pay close attention to grout, caulk, exhaust fans, toilet bases, and the underside of vanity cabinets. Replace failed caulk and report loose toilets, leaking traps, soft flooring, or persistent drain odors. Cleaning alone will not solve a moisture problem.
For bedrooms and living areas, wipe closet shelving and rods, clean mirrors and interior glass, vacuum edges and corners, and remove cobwebs from ceiling lines. Wash walls only where needed and use gentle methods first. Aggressive scrubbing can leave shiny patches or damage paint, creating a repainting job where one was not necessary.
Do not overlook carpets, tile, and soft surfaces
Vacuuming is a starting point, not always the finish. Carpets with visible staining, pet odor, heavy traffic patterns, or residue may need professional extraction cleaning. The trade-off is drying time: schedule carpet work early enough that flooring is fully dry before the final inspection or key handoff.
Tile and grout also deserve more than a quick mop when buildup has accumulated. Deep cleaning can improve appearance and remove residue that holds odor, but cracked tile, missing grout, and failed seals should be repaired first or documented for maintenance. Clean surfaces make damage easier to see.
Treat Pest Prevention as Part of the Turnover
An empty apartment is the best time to inspect for pest entry points and hiding areas. Look under kitchen and bathroom sinks, around plumbing penetrations, behind appliances, at baseboards, in utility rooms, and near garbage storage. Droppings, shed insect skins, egg cases, grease trails, chewed materials, and small gaps around pipes should never be ignored.
Sanitation is the foundation of pest prevention. Remove food debris, clean grease, empty garbage, and make sure dumpsters or garbage bins are not creating an ongoing attraction near the building. Then address access points by sealing practical gaps, repairing screens, replacing worn door sweeps, and correcting leaks that provide water for pests.
If there are signs of bed bugs, cockroaches, rodents, or other active pests, avoid moving furniture or loose belongings between units. That can spread the issue. A trained pest professional can inspect the unit, explain the treatment process, and recommend cleaning and follow-up steps that fit the property and the type of pest involved.
Complete Repairs Before the Final Clean
Cleaning around repair work usually means cleaning twice. Schedule maintenance after the initial assessment and before final detailing whenever possible. Test smoke and carbon monoxide alarms, lights, outlets, switches, locks, windows, doors, fans, plumbing fixtures, drains, appliances, and heating or cooling controls.
Pay attention to small defects that shape a tenant's first impression: loose handles, chipped switch plates, torn weatherstripping, missing stopper plugs, crooked blinds, and burned-out bulbs. These are often quick repairs, but leaving them unresolved can make an otherwise clean unit feel poorly maintained.
After repairs are complete, remove dust from work areas and touch up floors, counters, and fixtures. If painting is needed, allow adequate curing and ventilation time before move-in.
Use a Final Walkthrough That Matches Move-In Day
The final inspection should happen when the unit is empty, dry, and fully lit. Walk it as a new resident would, starting at the entry and opening every door, drawer, cabinet, and appliance. Run water long enough to confirm drainage, flush toilets, test fans, and check that locks work smoothly.
A final walkthrough should confirm four practical outcomes:
- The apartment is clean, odor-free, and free of abandoned items.
- Fixtures, appliances, doors, windows, and safety devices are working.
- No active leaks, visible pest evidence, or sanitation concerns remain.
- Photos and turnover notes are complete for the property file.
If time is tight, do not cut the final inspection. It is the last opportunity to catch a missed issue before it becomes an urgent call from a new tenant. A fast turnover is valuable, but a clean and properly checked turnover reduces callbacks, protects the property, and sets a better tone for the tenancy ahead.
A well-prepared apartment tells the next tenant that their home has been cared for. That confidence begins with the details: a clean drain, a fresh kitchen, a sealed gap under the sink, and a unit that is ready to live in on day one.